
Shooting & setup guide
Camera settings for product photography: start, test and adjust
Get sharper details, cleaner color and repeatable exposures by choosing settings for the product in front of you.
There is no single camera recipe for every product. The right choice depends on how much depth must stay sharp, whether anything moves, how the scene is lit and whether the camera is supported.
Use this guide to set ISO, aperture, shutter speed, white balance and focus in a practical order, then diagnose softness, noise, color shifts or lost highlights without guessing.
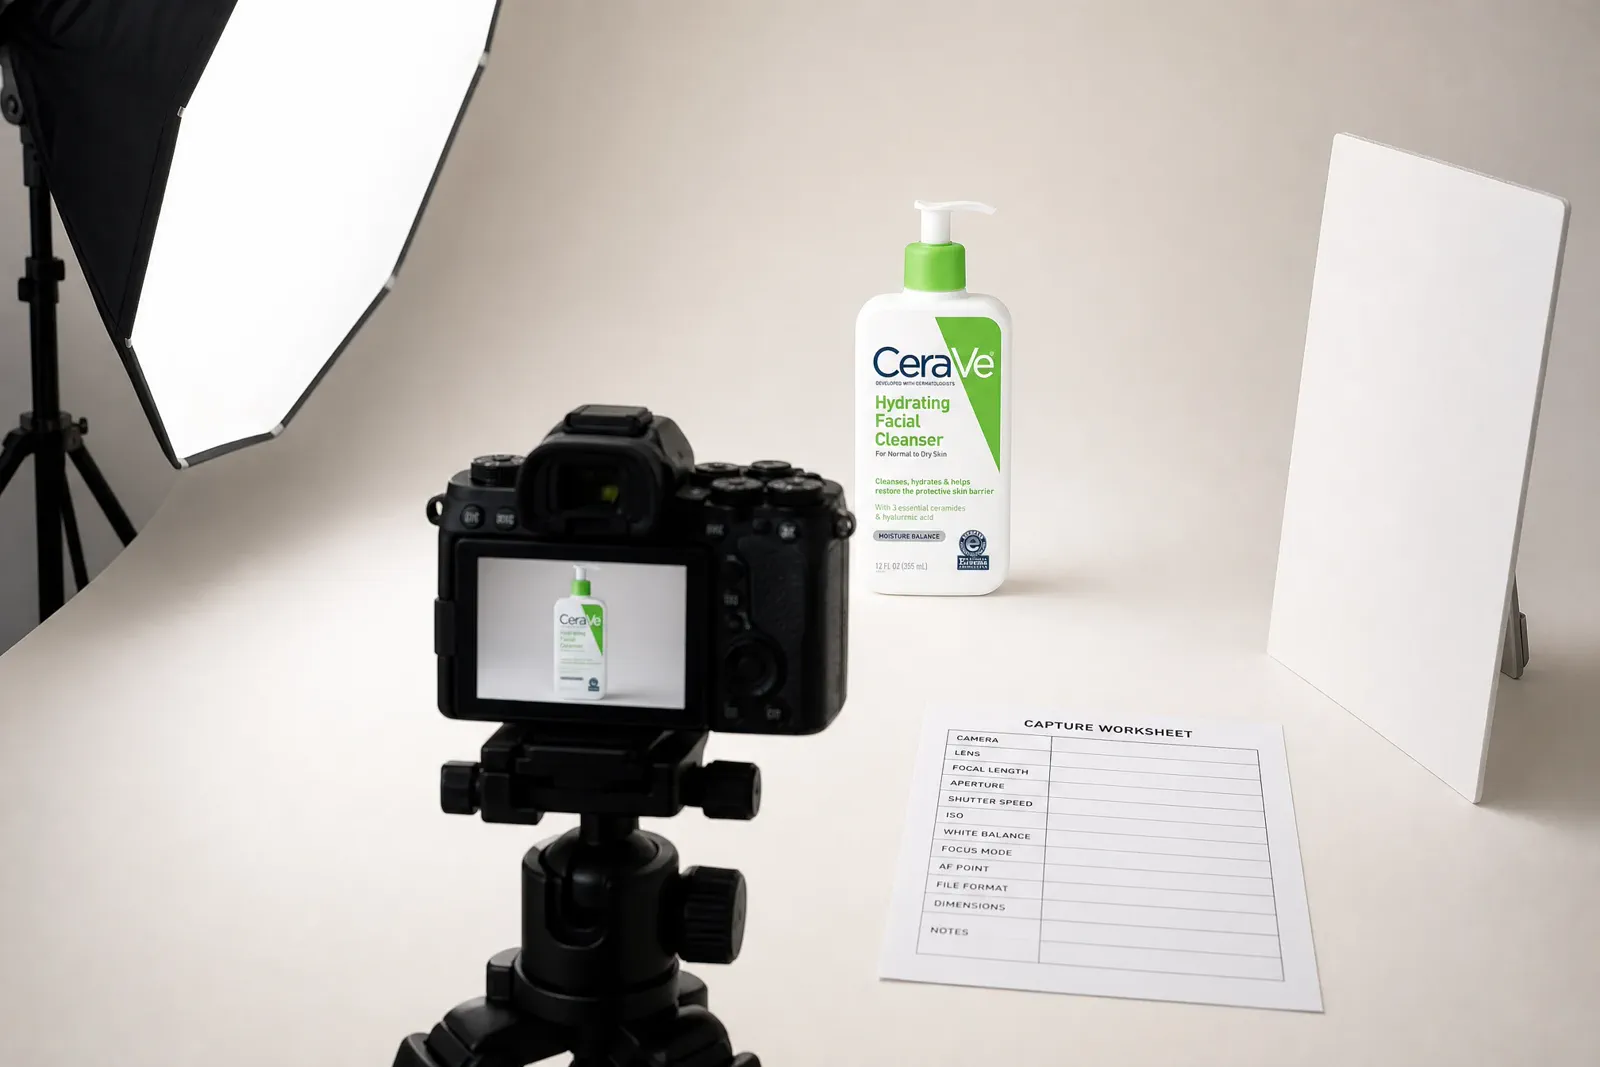
01 · Starting sequence
Decide support and light before dialing in exposure
Settings work as a system. Use this order to avoid solving camera shake with ISO or solving a focus miss with a smaller aperture.
Step 1
Stabilize the camera and product
Decide whether the camera, product or both can move. A stable support can make a longer shutter speed practical for a stationary product.
Step 2
Control the light
Remove mixed sources, establish a repeatable direction and check the most important highlight before setting exposure.
Step 3
Choose aperture for required depth
Identify the nearest and farthest product details that must be sharp. Choose an aperture from that requirement, then test it rather than assuming more depth is always better.
Step 4
Set shutter speed for movement
If the camera and product are stable, shutter speed can often become longer. If either moves, test whether the selected speed preserves the required detail.
Step 5
Raise ISO only as the constraint requires
Use the lowest practical ISO that still supports the required aperture and shutter speed. Judge noise and retained texture in the final output size.
Step 6
Set focus and white balance, then test
Focus on the detail that must remain sharp, set white balance for the actual light and capture a test frame for highlight, edge, color and full-size review.
02 · Exposure controls
Know what each setting changes—and what it cannot fix
Each control has a primary visual job and a tradeoff. Change the control connected to the visible problem.
| Control | Primary job | Tradeoff to inspect | Test |
|---|---|---|---|
| Aperture | Controls how much depth appears acceptably sharp. | Very small apertures can soften fine detail through diffraction. | Compare required front-to-back detail at full size. |
| Shutter speed | Controls how movement is recorded. | A slow exposure can show camera or subject movement. | Compare fine edges using the same focus point. |
| ISO | Supports the required aperture and shutter combination. | Higher ISO can reduce clean texture and color fidelity. | Judge noise and detail at delivery size, not only at 100%. |
| White balance | Maps the captured light to believable product color. | Mixed light may not be corrected with one setting. | Compare a trusted reference and neutral areas. |
| Focus plane | Places maximum sharpness on the most important product detail. | A correct focus point cannot create unlimited depth of field. | Check near, focus and far details separately. |
Exposure brightness alone cannot tell you whether the combination is good. Review sharpness, highlight detail, color and texture together.
03 · Scenario decisions
Choose settings from the shot, not a copied number
Use scenario logic to establish priorities. Exact numbers depend on product depth, focal length, working distance, light output and the required file.
01Stationary tabletopPrioritize depth and clean detail
Stabilize the camera, choose aperture for the required product depth, keep ISO practical and allow shutter speed to follow the available light.
- Starting priority: required depth with the lowest practical ISO.
- Adjustment trigger: contact points or rear edges fail the full-size review.
02Deep or angled productAlign the focus decision with the product
Place focus deliberately within the required depth, test aperture changes and adjust camera angle or product orientation before assuming focus stacking is required.
- Starting priority: the named nearest and farthest required details.
- Adjustment trigger: more depth reduces critical fine detail or still misses the far plane.
03Handheld cameraProtect against camera movement
Select a shutter speed that passes the required edge-detail test, then balance aperture, light and ISO. Compare against a supported frame to confirm that camera movement—not missed focus—is the constraint.
- Starting priority: a stable, repeatable edge.
- Adjustment trigger: the supported frame is sharper than the handheld frame.
04Moving product detailProtect the part that actually moves
Keep camera support and focus fixed, then test a faster shutter speed or more light until the moving element retains the required detail. Do not raise ISO before confirming that subject motion is the failure.
- Starting priority: the moving detail required by the image role.
- Adjustment trigger: only the moving part smears while stationary edges remain sharp.
05Close-up detailExpect shallower usable depth
At close distances, small focus errors and camera movement become more visible. Stabilize, refine the focus plane and compare aperture choices before adding a multi-frame workflow.
- Starting priority: the exact feature that must remain sharp.
- Adjustment trigger: the correct focus plane still cannot cover the required depth.
04 · Sharpness diagnosis
Identify why the image is soft before fixing it
“Not sharp” can describe several different failures. Each one needs a different confirmation test.
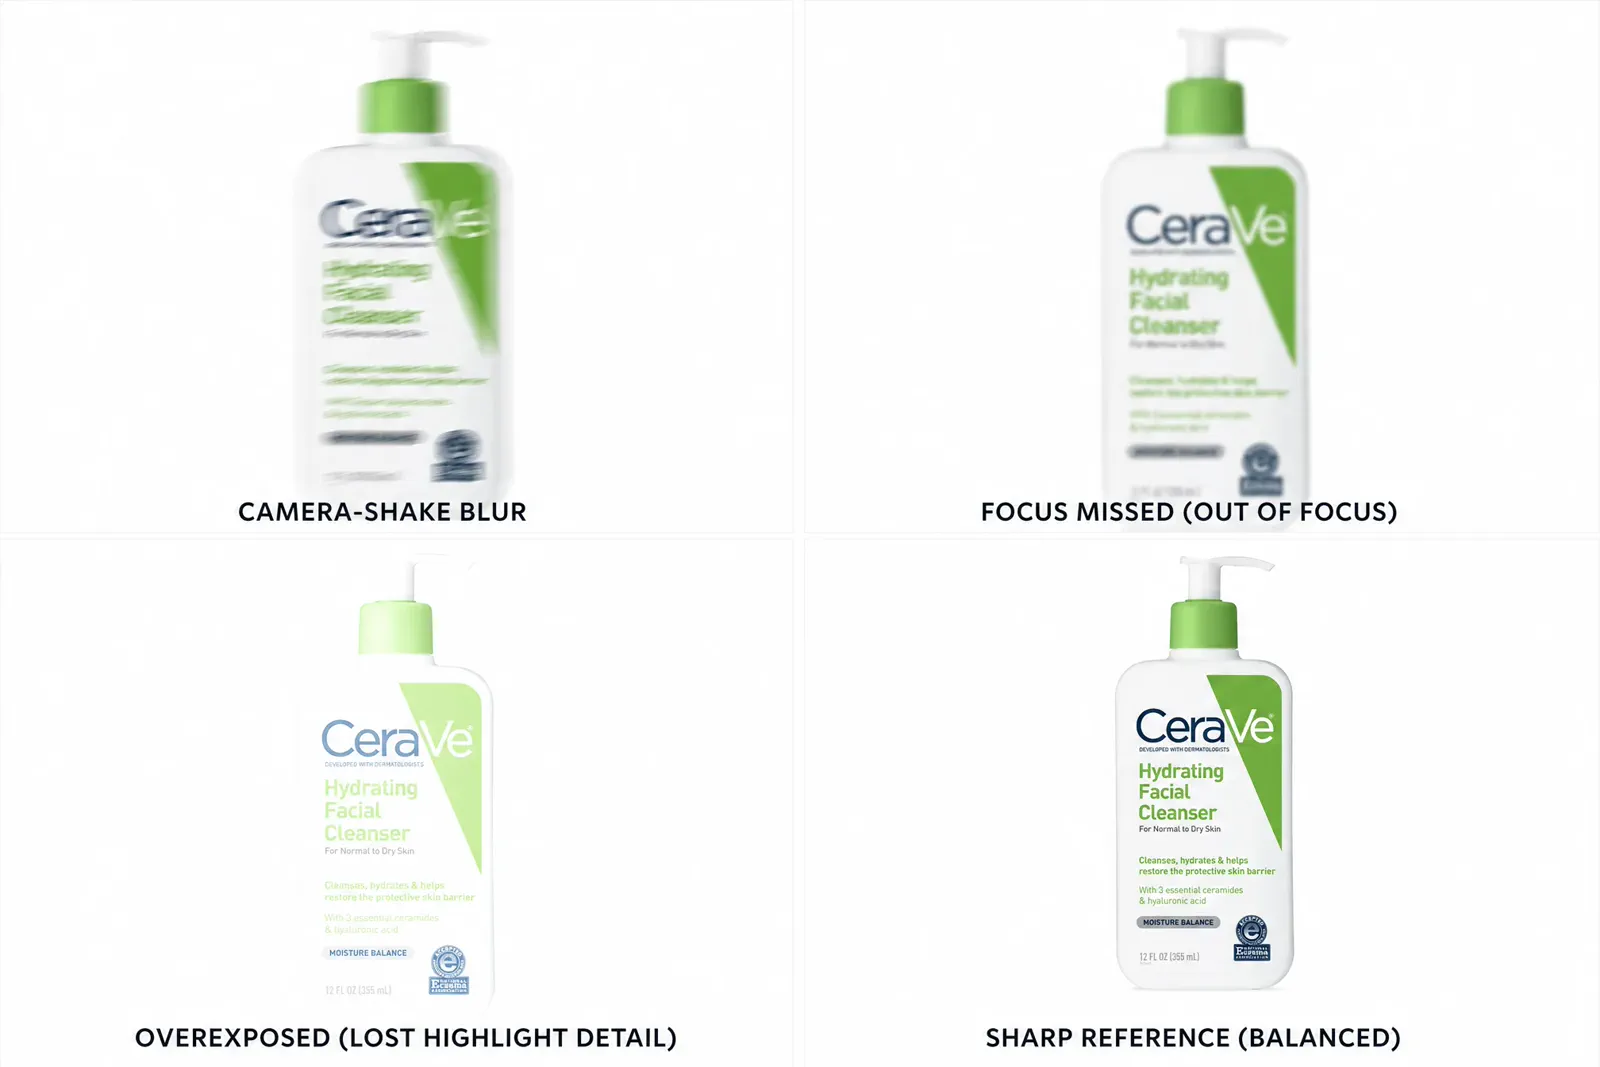
01Whole frame shiftsCamera shake
Compare a supported capture using a timer or remote release. If edges across the frame improve, reinforce support or use a shutter speed that passes the stability test.
02Only moving detail smearsSubject motion
Keep focus and support fixed, then compare a faster exposure or more light. Confirm that the moving part—not the whole frame—was the source of blur.
03Sharp plane in the wrong placeFocus miss
Inspect which detail is actually sharp. Reposition the focus point or use a repeatable manual-focus check rather than closing the aperture blindly.
04Near or far detail falls awayInsufficient depth of field
Keep the focus target fixed and compare aperture, camera angle and subject distance. Approve the smallest intervention that covers the required depth.
05Everything loses fine detailDiffraction or processing softness
Compare nearby aperture settings with equalized exposure, then inspect the original file before sharpening or export resizing. More depth is not useful if all critical texture becomes soft.
05 · Capture quality
Protect color, focus and editing latitude
A technically sharp frame can still be unusable when color, highlight detail or file handling does not support the product.
Color
Remove mixed light before correcting white balance
Turn off conflicting room lights or match sources where possible. Set white balance for the actual setup and include a trusted reference when color accuracy matters.
- Check reflective surroundings for color spill.
- Compare product color on a calibrated or trusted display.
Focus
Review the required plane, not only the center
Inspect the label, front edge, surface texture and rear detail that the image role requires. A green focus indicator does not prove the entire product is acceptably sharp.
File choice
Choose RAW or JPEG from the workflow
RAW can provide more latitude for white balance and exposure recovery, while JPEG reduces storage and processing. Choose from color risk, editing needs, turnaround and the delivery standard.
RAW is not automatically better for every production
Alternative capture
Use a phone workflow when it meets the evidence bar
A supported phone with controlled light can be sufficient for some product roles. Judge the source against detail, edges, color, noise and output size rather than the device category.
06 · Repeatable settings
Save the settings that produced the final frame
The final image and its capture record should explain how to repeat the result and what was actually reviewed.
Record the constraint
State whether the priority was depth, motion, color, reflective detail, close-up detail or delivery speed.
Record the capture
Save aperture, shutter speed, ISO, white balance, focal length, focus method, file type and camera support.
Record the light and position
Document source, modifier, product distance, camera angle and any cards or flags that shape the product.
Record the approval checks
Confirm required sharpness, highlight retention, label legibility, color, edges, crop room and final output size.
Questions that need judgment
Frequently asked questions
These answers cover the exceptions and review tests that still depend on context.
When should I use manual mode instead of aperture priority?
Manual exposure is useful in a controlled setup because it keeps the camera response consistent while you change the product or composition. Aperture priority can be practical when the light changes and depth is the main constraint, but you still need to understand exposure compensation and confirm that shutter speed and ISO remain acceptable. Run a repeatability test: capture the same product position several times and choose the mode that preserves the required exposure and settings with the least correction.
When does stopping down no longer help?
A smaller aperture stops helping when the added depth does not improve the required product detail or when diffraction reduces fine sharpness across the frame. Define the nearest and farthest details that must be sharp, keep the focus plane fixed and compare adjacent aperture choices at equalized exposure. If no single frame provides acceptable depth without sacrificing detail, adjust camera angle or product position before evaluating focus stacking.
Is shooting RAW worth it for product photography?
RAW is valuable when you need more latitude for white balance, highlight recovery or careful color work. It also requires more storage, processing and a consistent export workflow. JPEG may be sufficient for a controlled, repeatable setup with limited editing and a fast delivery requirement. Choose by the color and exposure risk, review both at the required output size, and document the approved workflow rather than treating one format as universally superior.
Stop chasing perfect settings
Your clearest frame is enough for the next commercial visual
You do not need to master every aperture, shutter, or ISO combination. Upload a clear phone or camera photo and use Adyvi to create the next ecommerce, lifestyle, or ad direction.
Create from my sharpest product photo