
Product photography guide
How to Take Product Photos in 7 Steps
Product photography creates clear, accurate images that help people understand a product before they see it in person.
You do not need a full studio to begin. For a small product, start with a stable table, a plain paper or board backdrop, a large window or broad softened light, and a phone or camera held steady. Clean the product, make a short shot list, take a test photo, adjust the light and framing, then capture the views your customer needs.
This guide shows how to take clear product photos from that simple setup through shooting, light editing, and a final export check.
The seven principles apply to many products. The complete example uses one small tabletop product; the next section explains when clothing, large products, reflective surfaces, or transparent materials need a different setup.
Before you begin
What You Need for a Simple Product Photography Setup
- Phone or camera
- Tripod, phone clamp, or another stable support
- Plain paper, card, or sweep background
- One large window or one broad, softened light
- White card or foam board to brighten the darker side
- Cleaning cloth and product-safe handling tools
Choose the setup for the product
Small tabletop product
Follow the complete setup and seven-step example on this page.
Clothing or other soft goods
Choose a flat lay, hanger, or mannequin approach; remove wrinkles and support the garment consistently before shooting.
Large product
Use enough room to keep the camera level and farther away, and plan for a broader, more even light source.
Reflective or transparent product
Start by simplifying the reflected surroundings, moving the broad light, and changing the background so edges remain visible. Adjust one element at a time and compare the result with the real product.
Setup at a glance
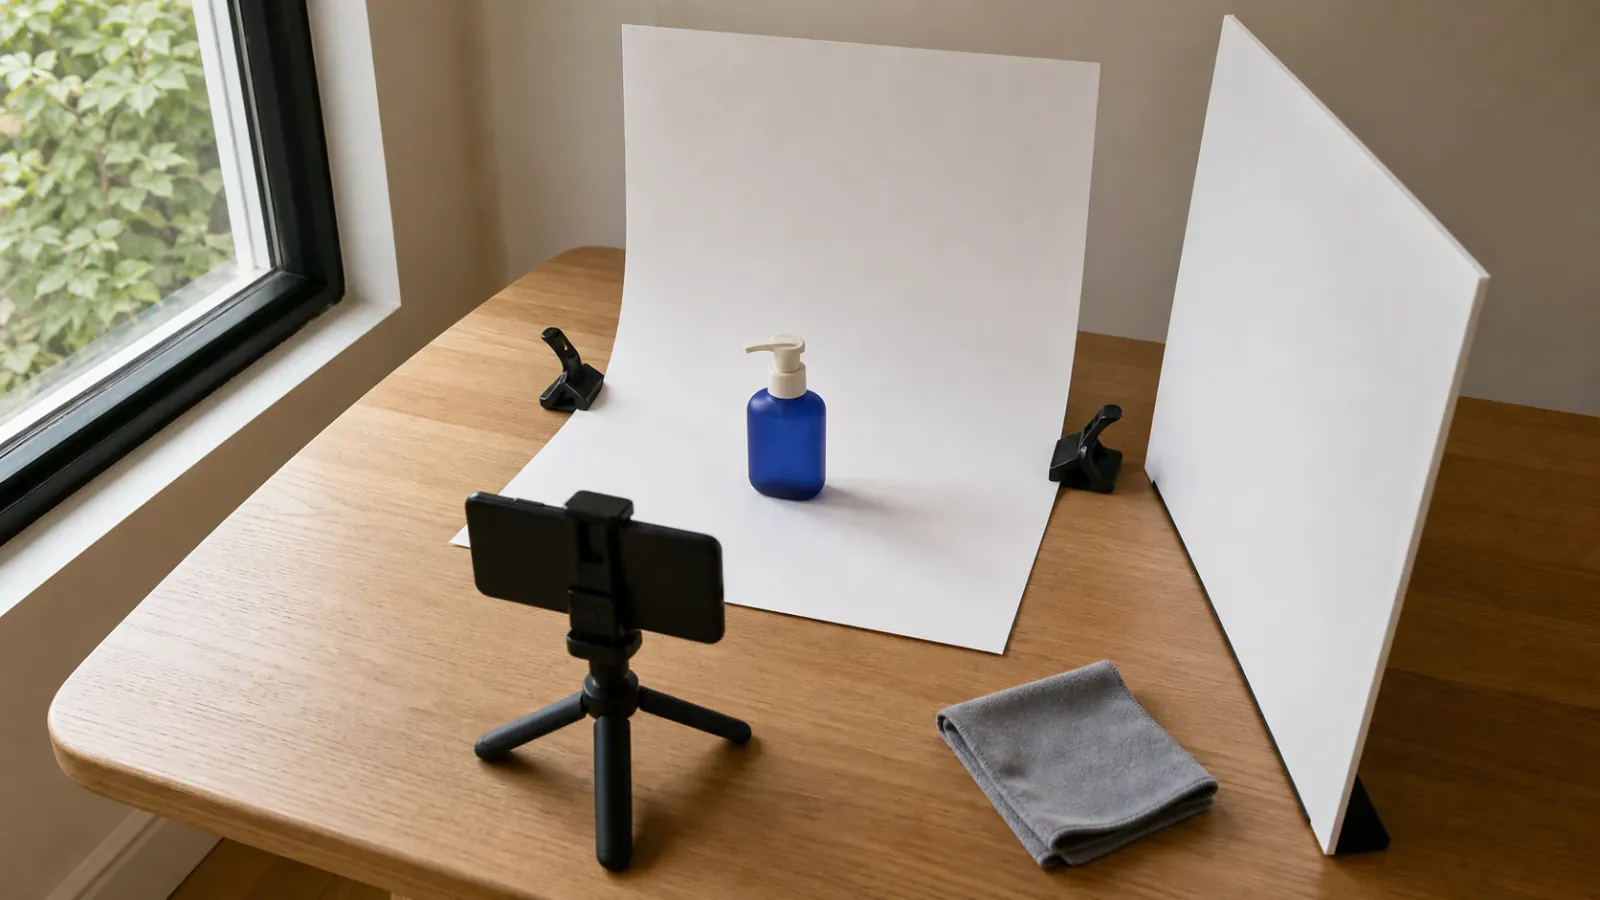
The tabletop example uses a stable table beside indirect window light or one broad, softened light, a plain sweep background, white card, and a stable phone or camera support. The numbered steps below explain where to place each item and how to adjust it.
The complete process
How to Take Product Photos Step by Step
Follow the seven steps in order. Each one includes a quick check before you move on.
Decide where the photos will be used
Platform rules change, so check the latest background, aspect ratio, image size, and content requirements before shooting. Then write a short shot list. Start with a main view, followed by the front, side, or back, important details, labels or packaging, and a scale or in-use view only when it helps explain the product.
By the end of this step, you should have: a short written shot list.
Clean and prepare the product
Remove dust, fingerprints, loose threads, stickers, or packaging marks that should not appear. Assemble every included part correctly and compare the product with what the customer will actually receive.
By the end of this step, you should have: a clean, correctly assembled product.
Set the table and background
For the tabletop example, place the product on a stable table about an arm’s length from a large window. Curve a sheet of paper or card behind it so there is no visible corner, place white card on the side opposite the window, and hold the phone or camera level on a stable support. For a flat label, box, or other straight face, keep the back of the phone or camera parallel to that face so it does not look tilted.
Background note: white is common, not mandatory. Choose a background that keeps edges visible and does not change the perceived product color.
Move on when: the product is stable, the background fills the frame, important edges remain visible, and straight faces do not look tilted.
Use one broad, soft light
Use indirect light from a large window, or one softened light from the side and slightly in front. If direct sun creates a hard-edged shadow, move the setup out of the direct beam or draw a white sheer curtain. Turn off mixed room lights. Move the light or product until important surfaces are readable without harsh glare or a heavy shadow. Use white card on the darker side if details disappear.
Tricky-product reminder: reflective surfaces may pick up the room, while transparent edges may disappear against the background. Simplify the surroundings, move the broad light, and test a lighter or darker background until the product shape and important details are clear.
Move on when: the brightest area still shows detail, the darker side remains readable, and the main shadow has a soft edge.
Set up the phone or camera
Taking Product Photos With a Phone
Use the main rear camera, clean the lens, turn off the flash, keep the phone stable, and use a short timer. Turn on the grid, tap the product to focus, and lower exposure slightly if bright areas lose detail. Avoid digital zoom, ultra-wide distortion, and portrait mode if it softens or clips the product’s edges.
Starting Camera Settings for Product Photos
Use a tripod, low ISO, and an aperture that keeps the necessary product depth sharp. Aperture priority and a mid-range aperture such as f/8 can be a tested starting point for a small product, but the correct setting depends on the lens, product depth, and available light. Check the result and adjust. RAW is useful if you are comfortable editing RAW files; it is not required for a beginner.
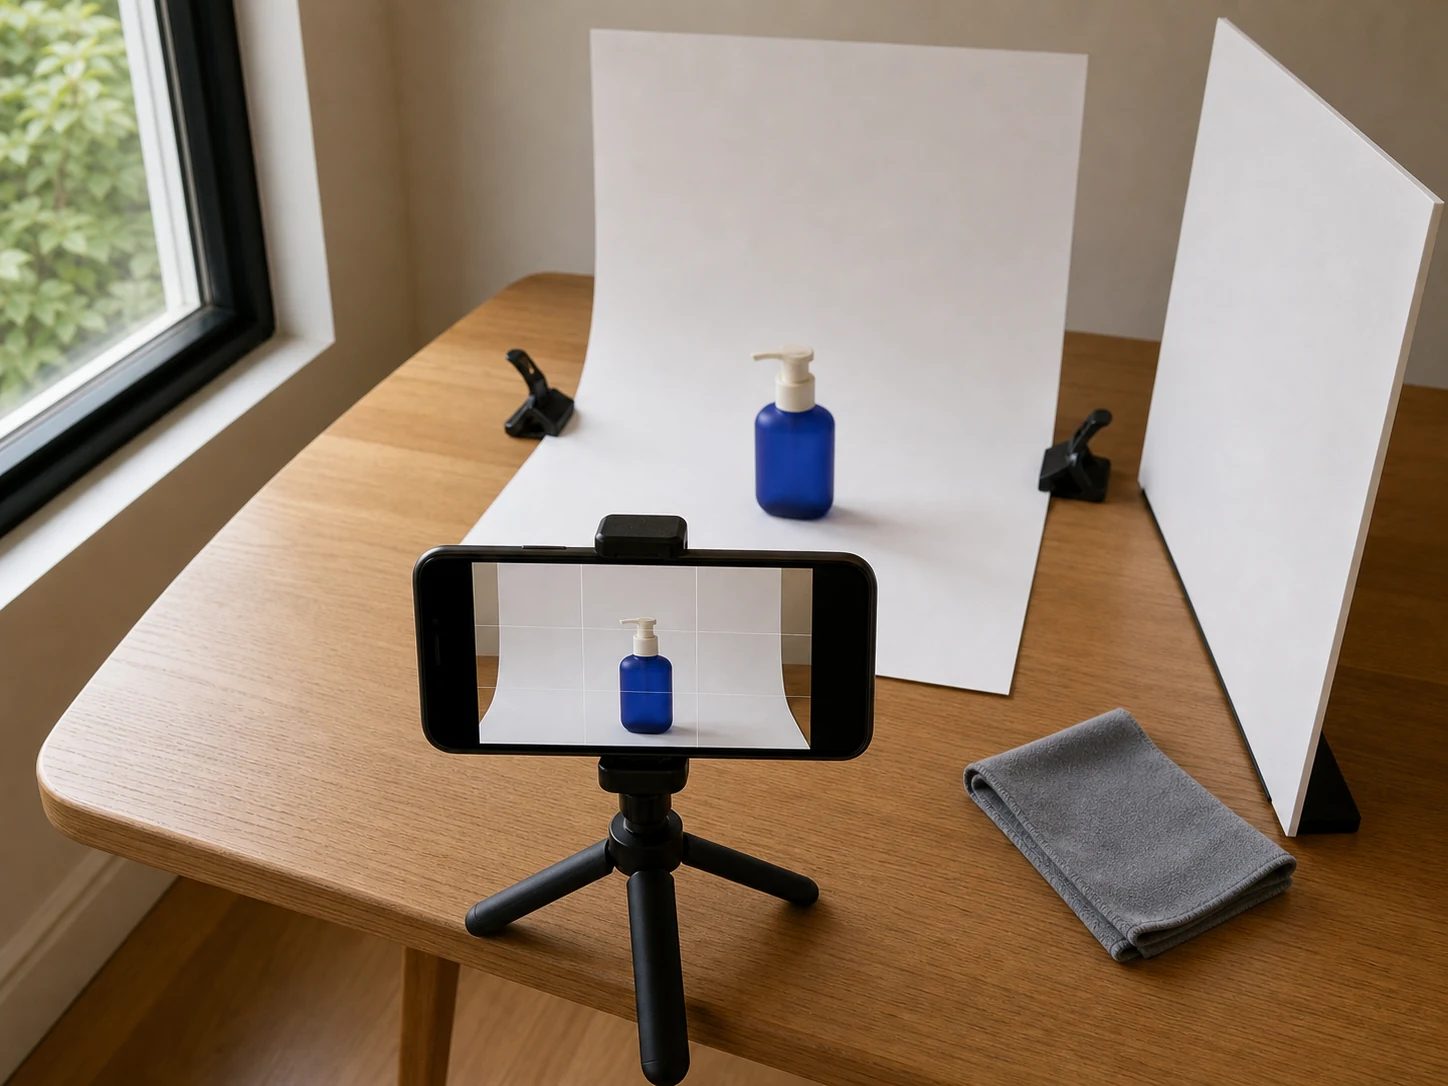
Stable phone positionKeep the phone level on a stable support and use the main rear camera. 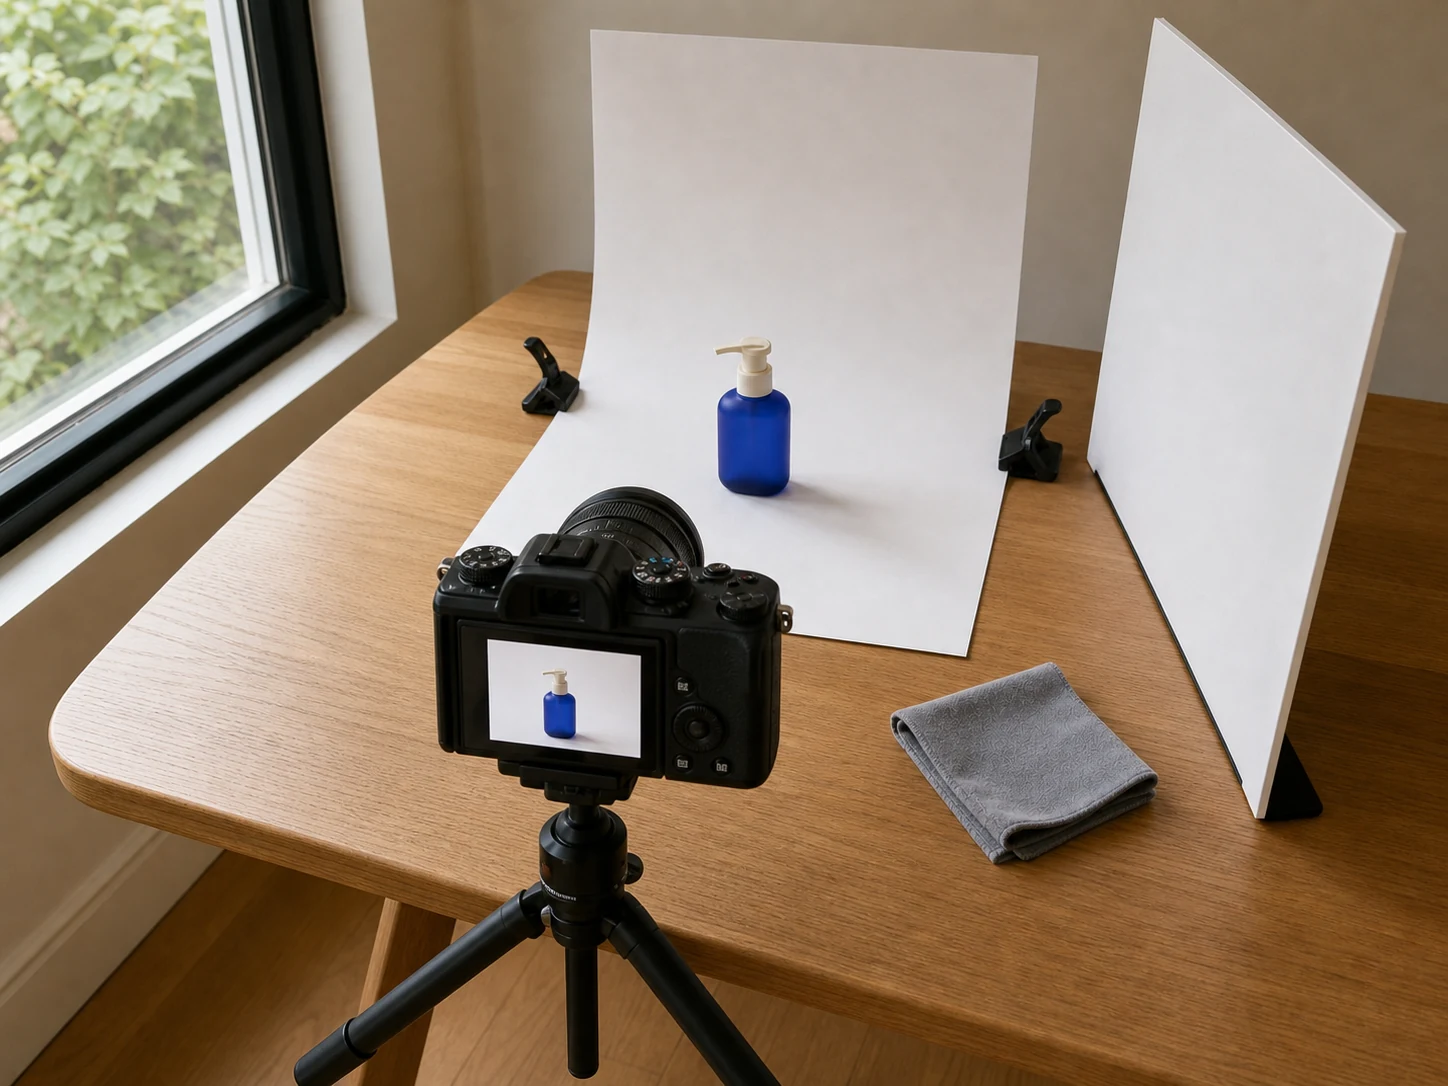
Tripod-mounted cameraKeep the camera level and far enough back to avoid wide-angle distortion. Move on when: the device is stable, the intended product area is in focus, straight faces are not visibly distorted, and a test frame holds detail in bright and dark areas.
Frame, focus, test, and capture the shot list
Leave enough room for the intended crop, keep the camera angle consistent, and focus on the defining part of the product. Take one test frame, open the captured photo, and enlarge it on screen, then fix light, focus, dust, or distortion before capturing the remaining views. Take small framing variations rather than assuming the first frame is final.
By the end of this step, you should have: a main view plus the supporting views from Step 1.
Main product viewShow the complete product clearly with a balanced crop. 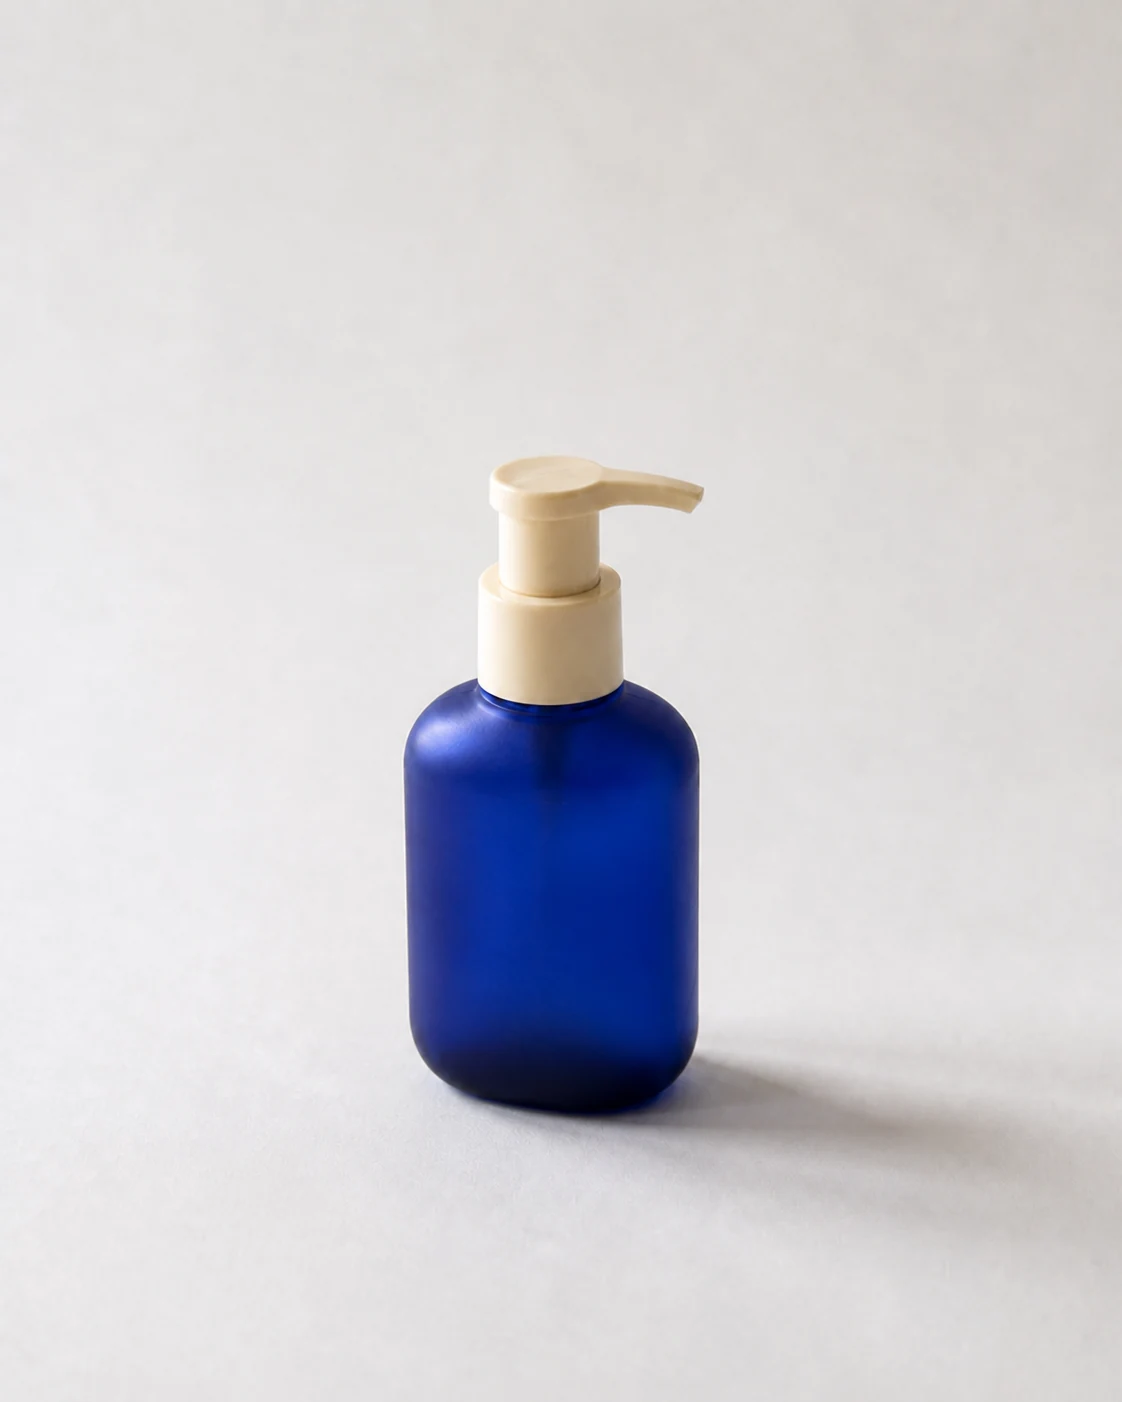
Supporting product viewAdd another angle when it helps explain the product shape or construction. 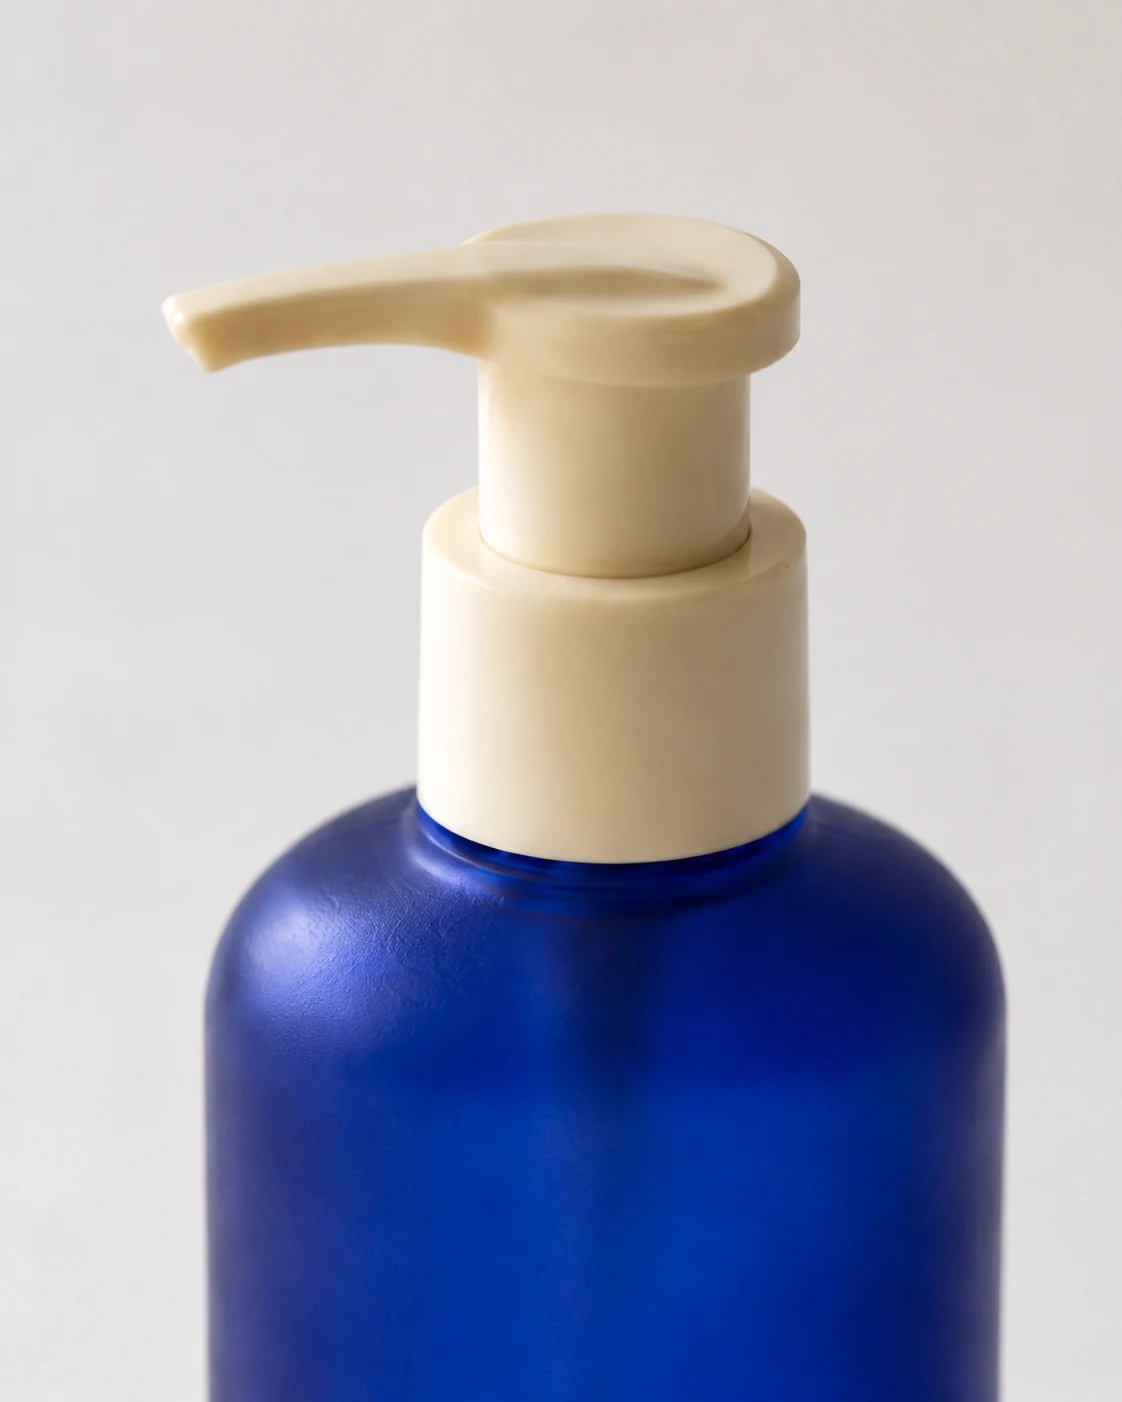
Product detail viewMove closer to show an important material, feature, label, or component. Make light edits and export
Select the clearest frames, straighten and crop them, then make small exposure, white balance, and dust corrections. Keep an untouched original. Do not edit the product into a different shape, color, label, quantity, or set of included parts.
Export at the size and format required by the destination, then open the exported file once more to check sharpness, color, and crop. If the destination gives no specification, keep the full original and export a high-quality JPEG without enlarging it beyond the original pixel dimensions.
Move on when: the exported file opens correctly, the product still matches the real item, the crop fits its destination, and the untouched original remains available.
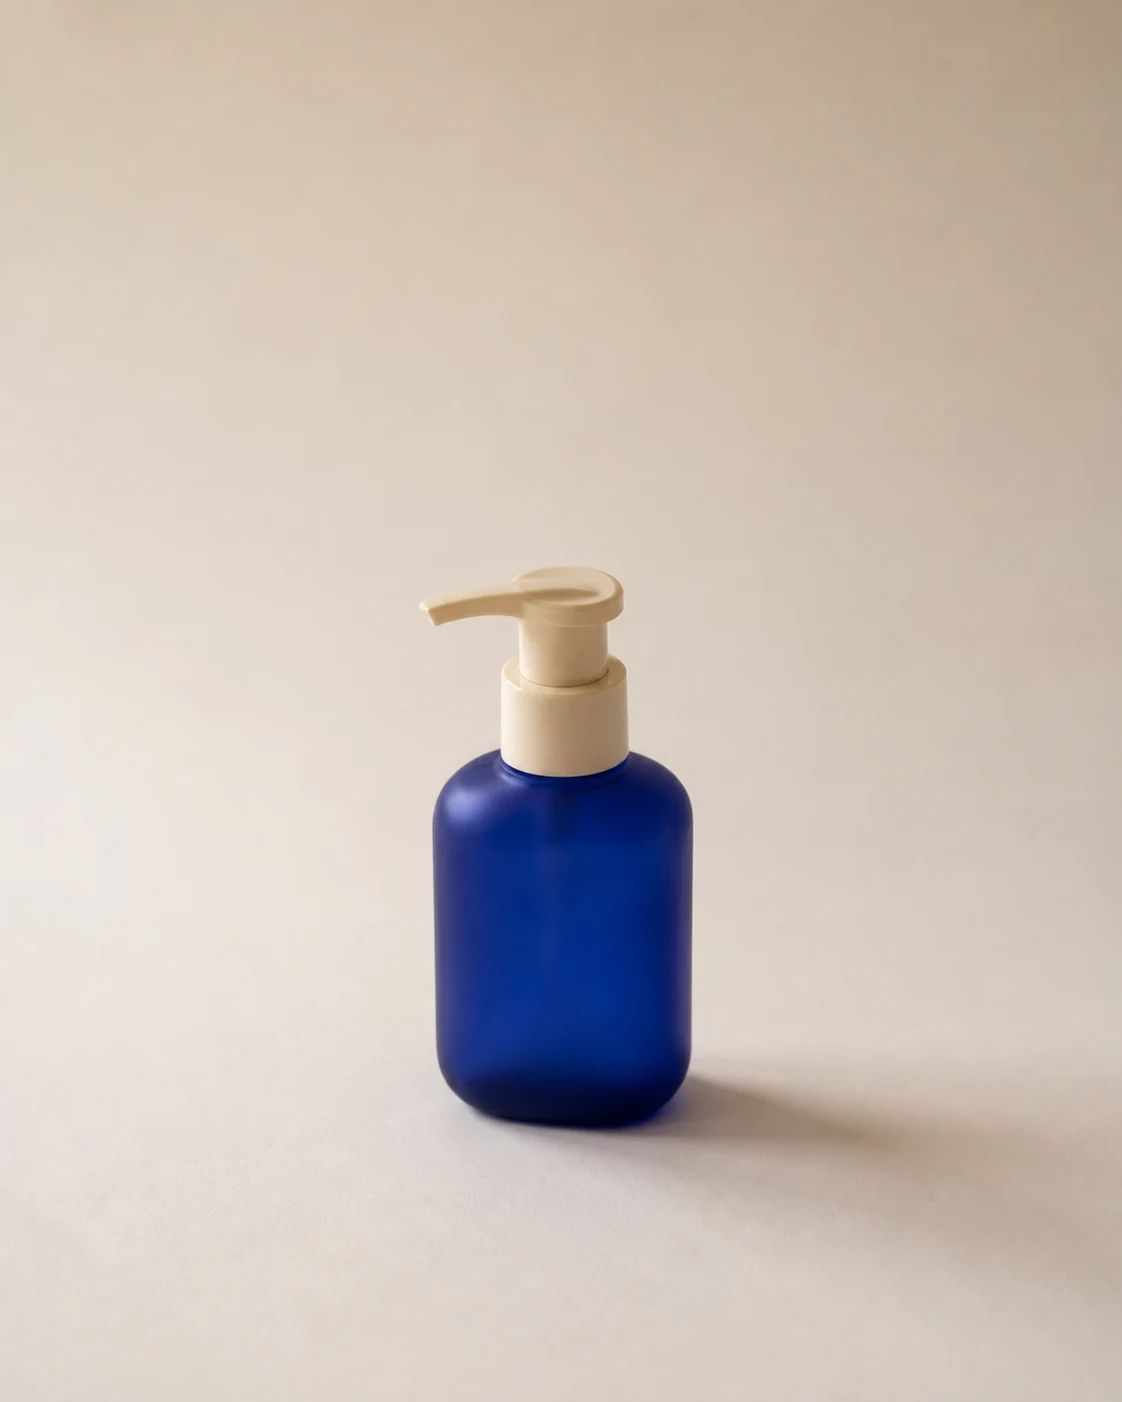
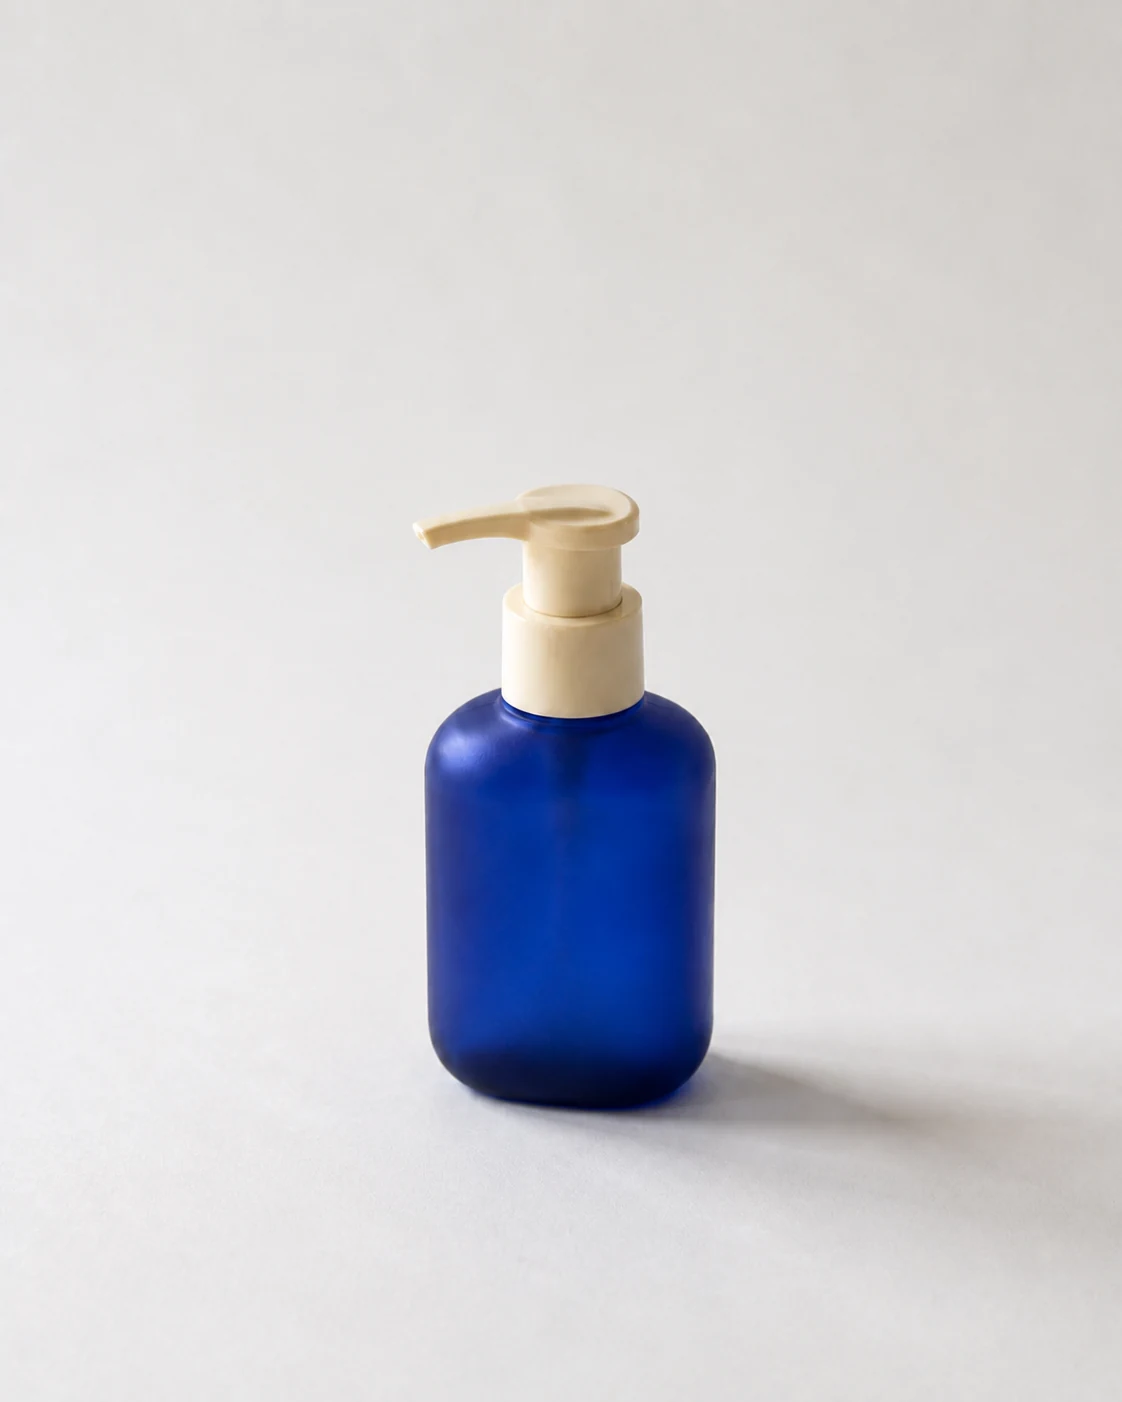
Before light correctionThe selected product photo before small exposure, white balance, crop, and dust adjustments. Lightly corrected exportKeep corrections restrained so the exported image still matches the real product.
Troubleshooting
Fix Common Product Photo Problems
- What you see
- The photo looks soft or blurry
- Likely cause
- Camera movement, missed focus, or too little light
- Try this next
- Stabilize the phone or camera, use a timer, tap or select focus, and increase the light before relying on sharpening.
- What you see
- The shadow or reflection is harsh
- Likely cause
- The light source is too small, unsoftened, or angled so glare returns toward the camera
- Try this next
- Use a larger softened light, move it farther to the side, and watch how the reflection changes.
- What you see
- The product color looks wrong
- Likely cause
- Mixed light or confused automatic white balance
- Try this next
- Turn off different-colored room lights, use one main light, and compare the result with the real product.
- What you see
- Boxes and straight edges look distorted
- Likely cause
- The camera is tilted, too close, or using an ultra-wide view
- Try this next
- Move back, use the main lens, and keep the back of the phone or camera parallel to the flat front of the product.
Before you export
Product Photography Checklist Before You Export
Use this one final check after you have photographed, selected, and lightly edited the files.
Frequently asked questions
Product Photography FAQ
Does a product-photo background have to be white?
No. A white or light neutral background is common because it keeps attention on the product, but the best background is one that separates the product clearly, preserves its apparent color, and fits the destination. Check the destination’s current rules when a platform requires a specific background.
How many product photos should I take?
There is no universal number. Start with a main view, then add only the angles, details, packaging, or use views needed to answer likely customer questions. Photograph each item on the Step 1 shot list, plus a few small framing variations.
When should I hire a professional product photographer?
Consider professional help when the product needs specialized lighting, is very large or very small, is safety-sensitive or regulated, is difficult to assemble, or when the images must document it with strict technical accuracy.
You already have what you need
Turn the Photo You Just Took Into Commercial-Ready Product Visuals
No studio, professional camera, or complicated settings required. Start with one clear phone or camera photo and create product-page, lifestyle, and ad directions from the same source in Adyvi.
- 01Upload one clear phone or camera product photo.
- 02Describe the product-page, lifestyle, or campaign visual you want.
- 03Choose the aspect ratio and output, then create your new visual.
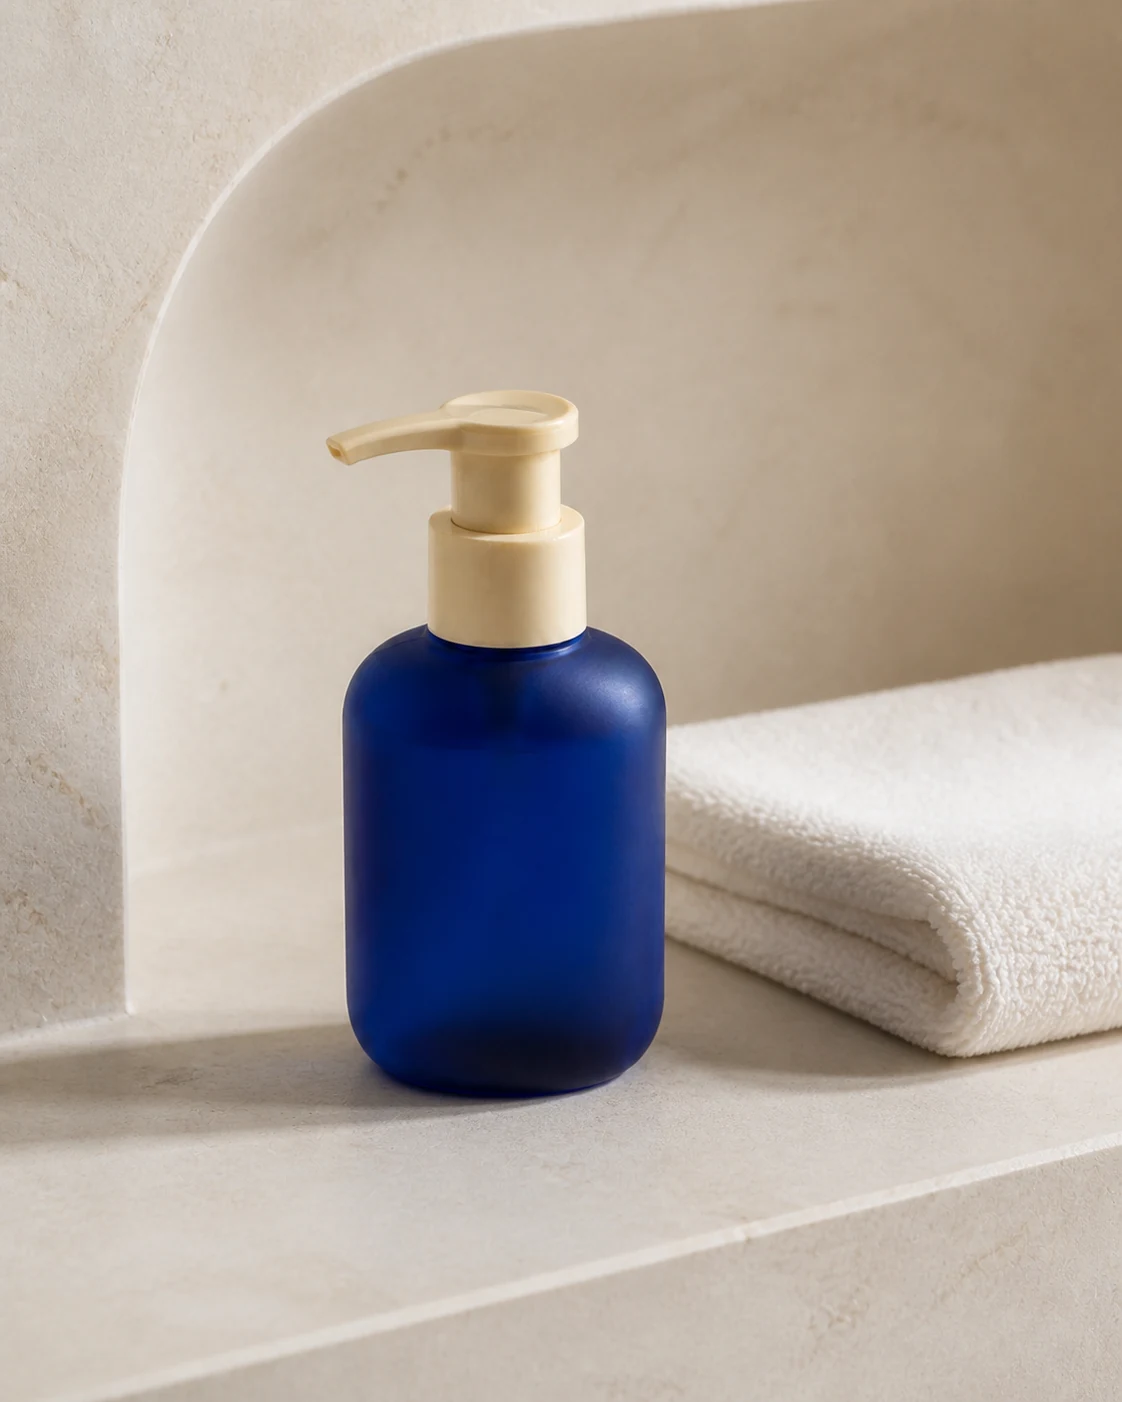
Upload one clear product photo and tell Adyvi what you want to sell, show, or promote.